
Creating a 3D printed waterproof box sounds simple enough. But there are many factors to consider and it is not as easy as it first seems.
 |
| Silicone aquarium tubing works perfectly but only when perfectly placed in the groove and the cut ends are perfectly connected. 12 hour tests have kept out all water, while subsequent tests of just an hour or so would see water make it in. |
3D printing settings like shell thickness and infill are important. So is designing a seal. There is no readily available design guides on how to do this. It really is just a matter of trying to reverse-engineer examples of reliably waterproof boxes already onhand.
Then there is testing. Testing to see if something that took hours to print out at 100% infill always begins with a sense of impending doom.
The results were disappointing. A small amount of water had leaked in. Worse still is that a second test at just 1-2 hours showed similar results. So unless the tubing is just right, water will get in. These tests were done before even gluing the tubing in place because of how unsure I was that it would work. Supergluing it makes it a nightmare to remove if the seal fails or needs to be replaced.
This tubing is turing out to hardly be a solution for what should be a reliable system especially if I'm going to make new boxes in the future or if anyone else wants to make these as I upload them to Thingiverse/Cults3D.

So I'm back to trying 3M silicone sealant.
The first 3M sealant was used a single bead was laid down and worked into the groove but when it cured I noticed troughs and dips instead of a smooth, even surface for creating a seal. So I laid down a second bead on top of it and smoothed it out. I don't know why it didn't seal. Was the 24 hour cure time not enough? Is the overall groove too shallow or narrow? Was doing it in two layers the problem?
So this time I very carefully laid it down, ensuring it fully filled the groove. I will give it a full 3 days or maybe even a week to cure before testing. I'm also looking into other types of silicone sealant, making the groove wider/deeper to accept more silicone sealant, and testing some other lid-ridge designs to interface with the silicone seal.
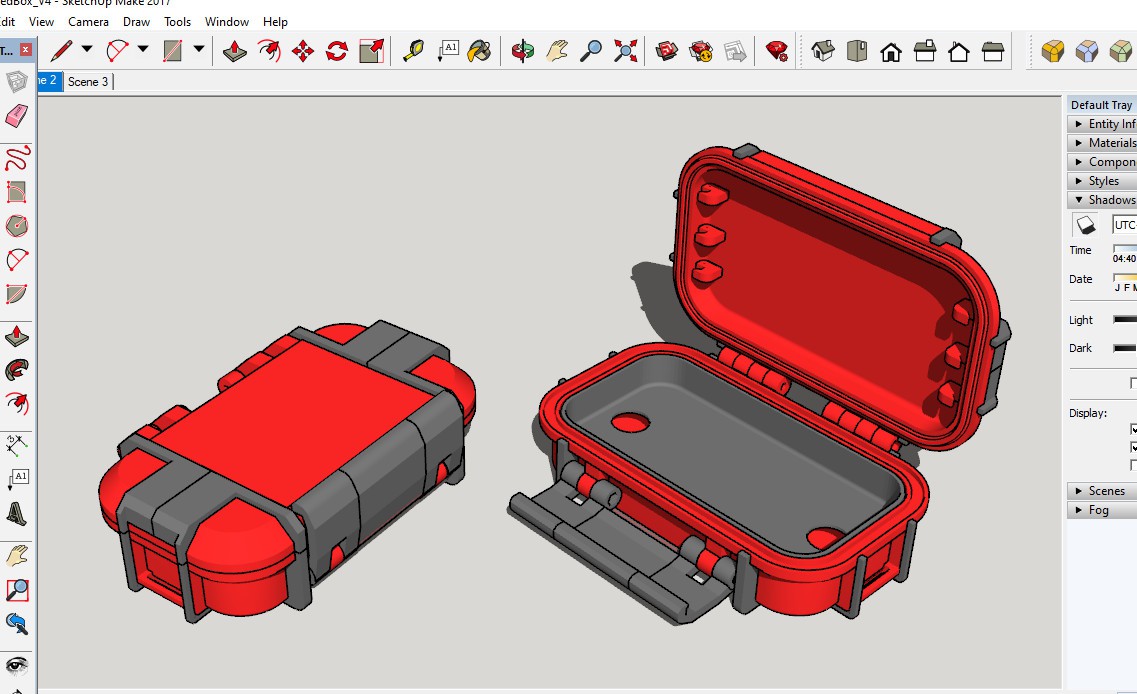
In the meantime I'm designing an updated version of this case that will be further optimized for actual use (rather than a testbed for waterproofing). It includes a tray to further divide the internal volume and external braces to primarily reduce the amount of surface area in direct contact with the ground or objects placed on top of it. This helps create friction and reduce slipping especially when placed on wet, smooth surfaces like a kitchen or bathroom counter.
Follow me on Instagram for regular updates, or visit my blog here for much less frequent updates.